How Early Should You Arrive at the Airport? A Complete Guide for Domestic & International Flights
‘'Welcome to the beginner guide on how to navigate your first time through an airport.
Airport can be overwhelming and confusing, but with a bit of preparation and knowledge, you can make the airport experience a smooth and enjoyable one.’’
On average, Domestic Flights - 1.5 hours before the Boarding
On Average, International flight-2.5 hours before the Boarding
We all know someone arriving at the airport hours before their flight. If that's you, no judgment! But just a heads-up, even if you're ready super early, the airline might not be. Some airlines have rules about how early you can check your bags. They might not let you check them more than four hours before your flight. So, you might end up waiting around.
On the flip side, we've all seen (or been!) that person running through the airport, trying to catch their flight. Super stressful, right? Sometimes, it works out, but it's a significant risk.
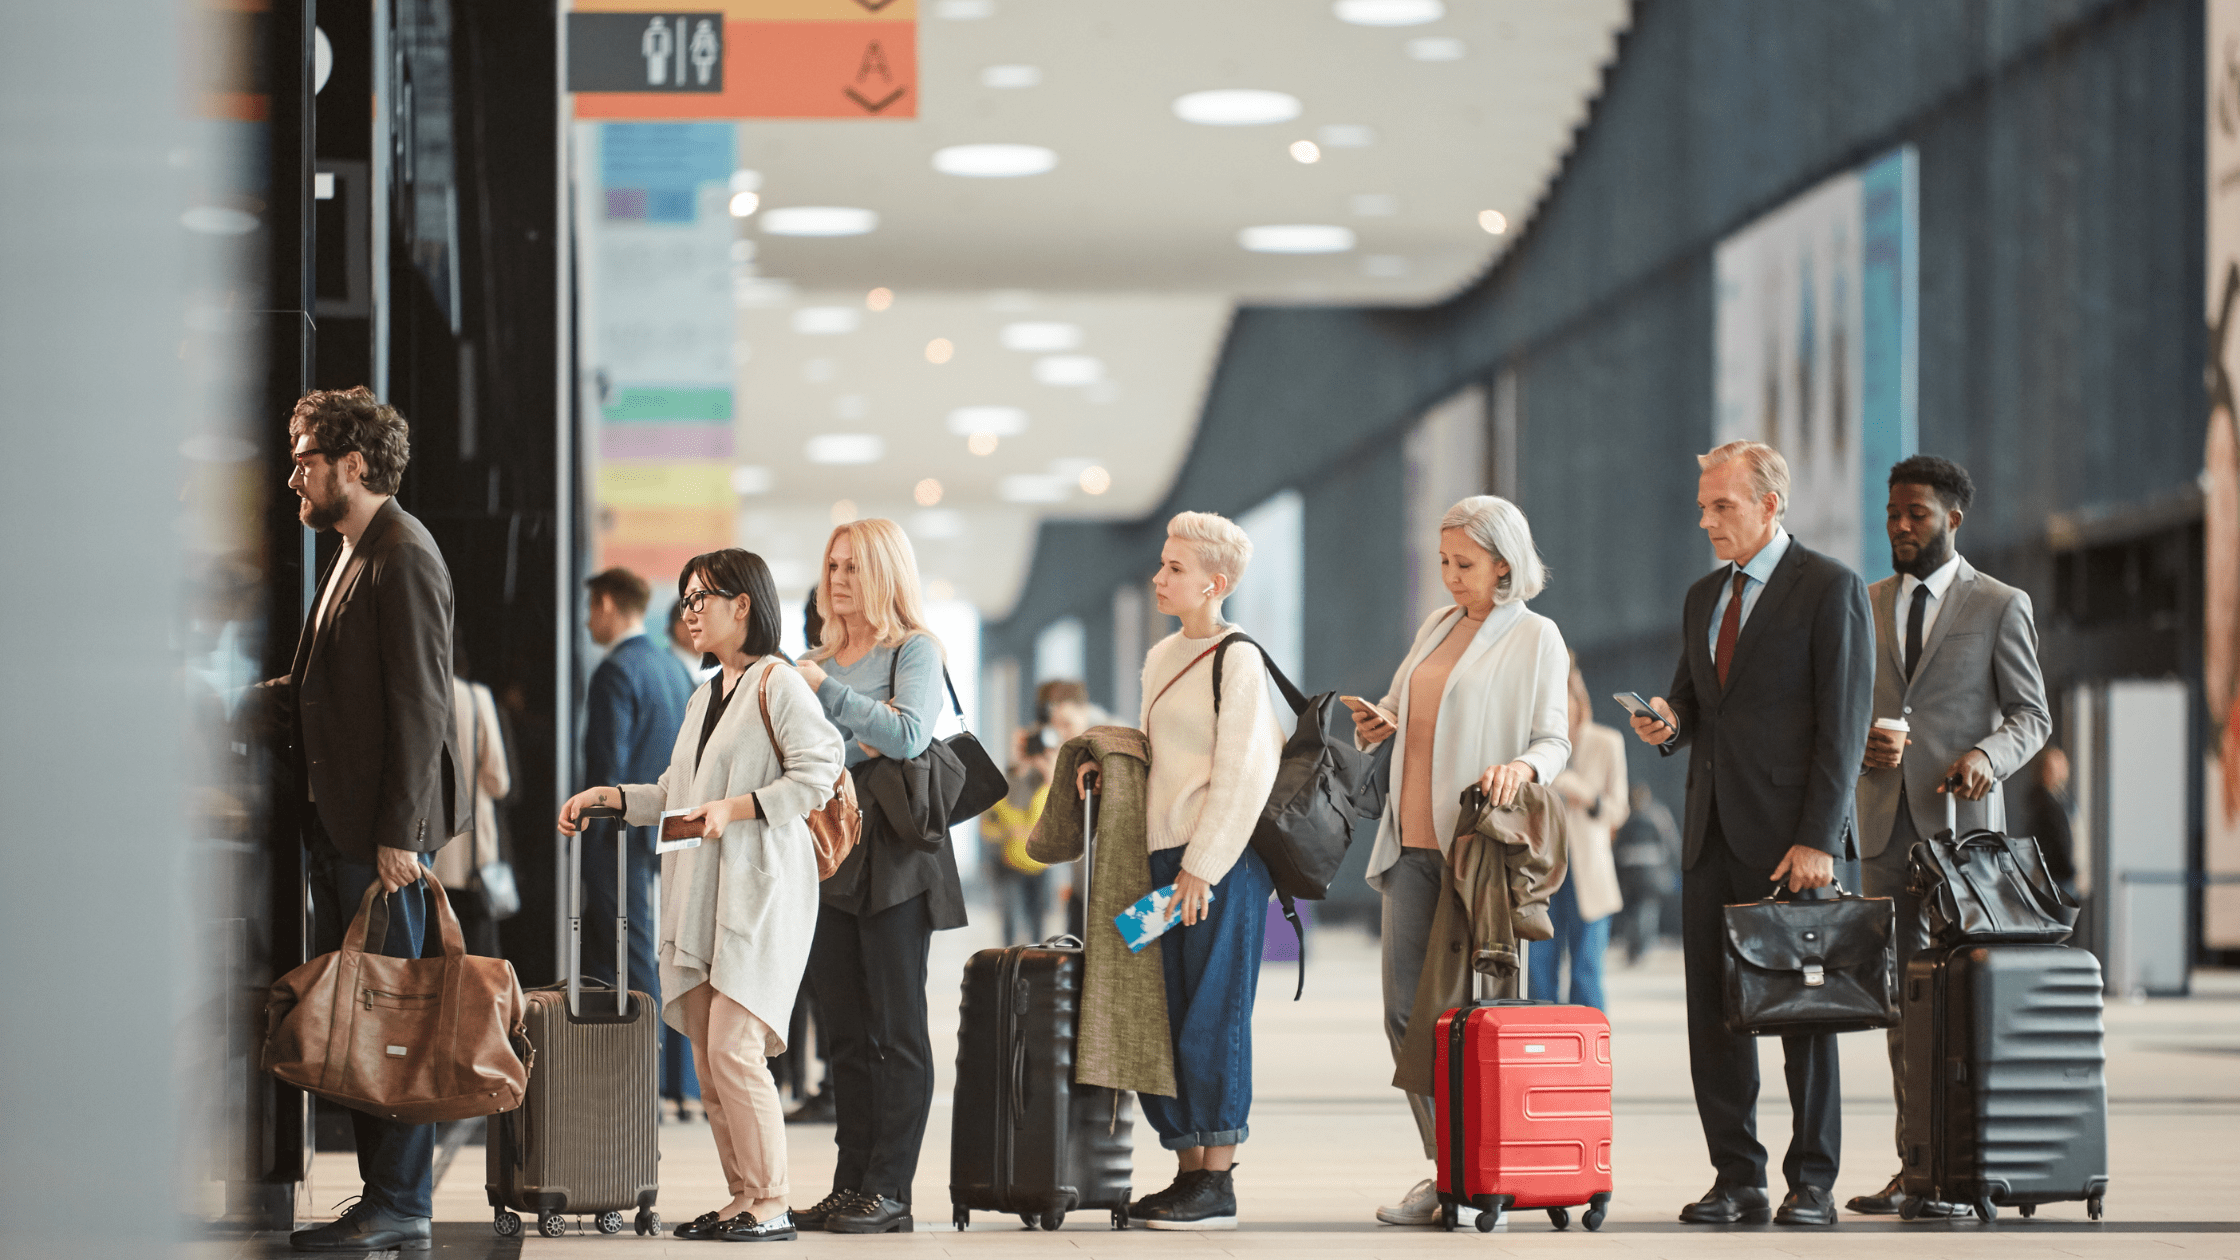
Arriving early at the airport is more than a precaution; Many travellers experience anxiety about long security lines, intricate check-in procedures, and the nightmare of missing their flight.
Airports can be unpredictable, with varying congestion levels and potential delays. This guide sheds light on how much time is needed at the airport to ensure a smooth and relaxed travel experience, helping you manage your time effectively and start your trip quickly.
7 Easy Airport Hacks for a Smooth, Stress-Free Trip
Tip No. 1- The best time to book a flight is from Tuesday to midnight on Wednesday to get the cheapest flights for the week. Also, remember to use the incognito mode each time you search for a flight. Using a VPN can also help you get cheaper airfare.
Tip No. 2 - Recommended to book a domestic flight about 2 months before travel and an international flight from 6-9 months before the departure date.
Tip No. 3- The first thing you must do is research your airline's baggage policy. Different airlines have different baggage allowances, so make sure you know what your airline allows and pack accordingly. Also, check if your airline charges for the checked bags and, if so," how much". This can save you time and money at the airport.
Tip No. 4 - Make sure you have all the necessary travel documents. This includes your passport, visa (if required), and other travel documents. Double-check that your passport is valid and not expired and that you have the necessary visas for your destinations.
As always, making copies of these documents is a good idea.
Tip No. 5- Keep all your essential items in the carry-on bags. If you have more than one checked bag, split your items half and half by putting half of your clothes in one and the other half in the other bag.
Tip No. 6- When planning your trip to the airport, give yourself enough time to get there. This will depend on your mode of transportation and the time of day. If you're driving, check the traffic conditions and plan accordingly. If you are taking public transportation, make sure to check the schedule and routes ahead.
“A basic rule of thumb is 2 hours before departure for the domestic flight and 3 hours for an international flight .”
Note- Check the Clear & TSA website for the list of prohibited items.
Tip No 7- Wear slip-on shoes and remove any metal objects, such as belts and jewellery, before going through the metal detector. This will speed up the process. Make sure all liquids, gels and aerosols are in a clear,quart-sized bag, and you can easily remove this carry-on bag and place it in a bin/tray for screening.
"Follow the TSA agent's instructions and respect other passengers. Suppose you are randomly chosen for additional screening. Don't panic. This is a standard procedure ."
Relax! Travel is stressful. Anxiety and anger won't get you there any faster.
2. How Early Should You Arrive for Domestic Flights?
Start by booking your tickets on popular platforms like Expedia, Booking.com, or Kayak. Once that's done, follow these simple steps for a smooth airport experience!
Step 1: Entry & Check-in
You don't need a passport for domestic travel. Just carry your flight ticket and And ID proof (State-issued driver’s license, enhanced ID, or any valid government-issued photo ID).
- Tip 1: Complete web check-in on your airline's website to save time.
- Tip 2: Keep both your digital and physical boarding pass ready. Check the flight information screens regularly for updates on gate numbers or flight delays.
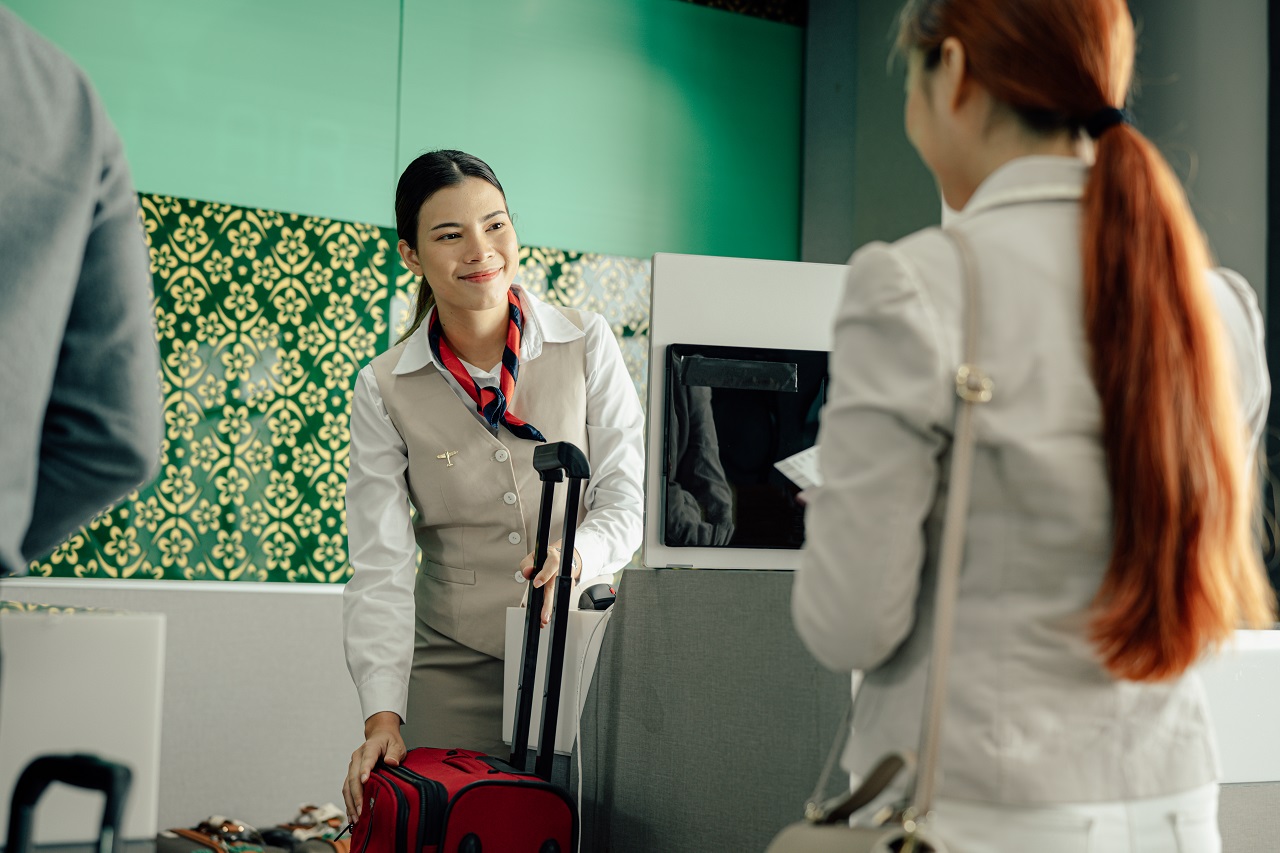
Step 2: Baggage Screening & Drop
Once inside the airport, you'll need to handle your luggage based on whether you're checking in bags or only carrying a cabin bag. Here's how to make the process quick and stress-free!
1. Baggage Screening: All luggage must be screened by airport staff before heading to the check-in counter. Follow the security officer's instructions to ensure a smooth process.
2. Luggage Limit: Your checked luggage should not weigh more than 15 kg. If it's over the limit, you may face additional fees.
Tip 1: Request a fragile tag at the counter if you have delicate items. This ensures extra care is taken during handling, especially in business class.
Tip 2: Cabin baggage is usually capped at 7.5 kg, so pack smart! Pack essentials like documents, electronics, and a change of clothes in your carry-on.
Tip 3: you can collect a Physical boarding pass at the airline counter if needed.
Step 3: Security Check – A Crucial Step in Your Journey
Being a citizen of our country, we must follow rules and regulations, so why not start taking responsibility for airport security?
Security checks are essential to keep everyone safe. While it might take some time, following simple steps can make the process smooth and stress-free. Airports tend to have long security lines during busy travel times like holidays, so arriving early helps reduce stress. These are the rules to be followed.
Rule No 1- Be Prepared for Screening
All travellers must go through security, which includes:
- X-ray scanning of your cabin bag.
- Physical screening for passengers through a metal detector.
- Tip: Organize your belongings before you reach the front of the line.
Rule No. 2- Place Items in the Tray
- Remove metal items like belts, watches, phones, and jackets and place them in a tray.
- Place your electronics, like laptops and tablets, separately in the tray.
- Liquids are allowed instead, it should follow the airport rules. Items like ghee are permitted but must be sealed appropriately to pass inspection.
Bonus Tip- Clear & TSA PreCheck can be a game-changer! It allows eligible travelers to keep on their shoes, belts, and light jackets, and keep their laptops and liquids in their bags. It's worth considering if you fly frequently. Familiarize yourself with the TSA's list of prohibited items before you pack. This will save you time and hassle at the checkpoint. You can find this list on the TSA website (tsa.gov).
Carrying Alcohol? No Problem!
If you've bought any alcohol at the duty-free shops, ensure it's sealed in a unique leak-proof bag with an authorized receipt. The duty-free shop usually provides this and a "fragile" tag to ensure your purchase is handled carefully.
Tip- Avoid wearing large boots or heavy jackets —you must remove them during the screening process. Remember, If you're carrying only a cabin bag, double-check that it doesn't contain any prohibited items to avoid delays.
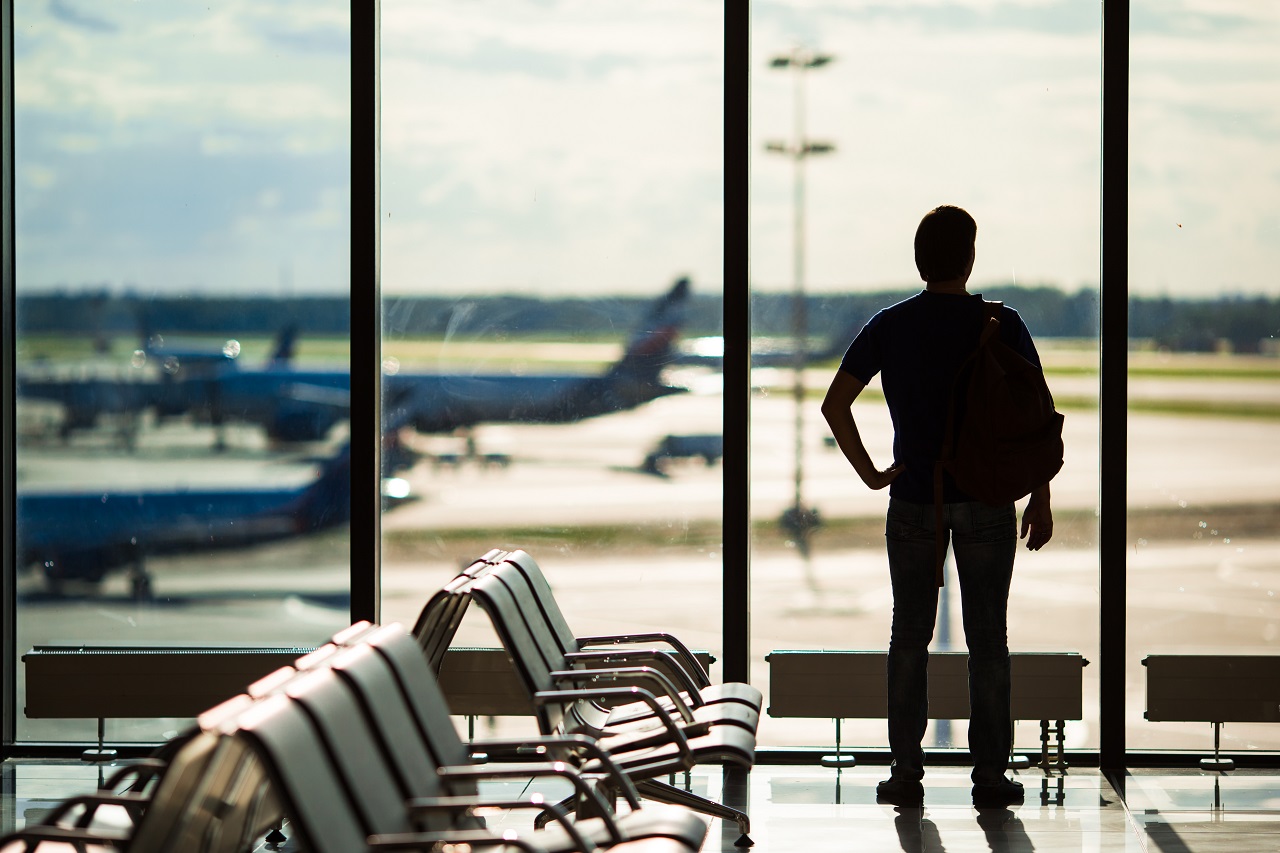
Step 4: Finding Your Gate
Once you're through security, double-check the monitors to confirm your gate number and ensure there haven't been any last-minute changes. Now, depending on your time before Boarding, you can explore a bit! Airports often have some fabulous amenities.
Got Some Time to Spare? Make the Most of It!
You've checked in and breezed through security. Think of this as bonus time, a little pause before your adventure begins. Airports aren't just about waiting around; they're packed with interesting stuff to explore.
Feeling the urge to shop? Treat yourself at the duty-free shops – you might find the perfect souvenir or something special for yourself. Hungry? Grab a delicious bite at the food court. Airports have many yummy options, from quick snacks to sit-down meals.
And it's interesting. Some airports are destinations in themselves! If you happen to be in Delhi, Chennai, or Mumbai, you might even find moving walkways to make walking easier. If you're travelling with kids or older people and need extra assistance, don't hesitate to ask about electric golf carts.
So, take a deep breath, relax, and enjoy this little pre-flight vacation. You've got this!
Step 5: Boarding: Getting on the Plane
Boarding! This means it's time to get on the plane. Keep your ears open and pay attention to airport announcements. They'll tell you exactly when your flight is ready for Boarding and which gate to head to. When you hear your flight called, grab your boarding pass (have it handy!) and go to the gate. You'll need to scan it one last time before you step onto the plane.
It usually starts about an hour before your flight takes off. But it can be a little sooner or later, depending on the airline and the size of the plane.
You don't have to rush to board with your group if you already have a seat number. You can wait a bit. But here's a friendly tip: if you have a carry-on bag that you want to keep with you, it's a good idea to board a little earlier. The overhead bins above the seats can fill up quickly, and if you wait too long, you might have to check your bag at the gate.
Pro Tip: Got a window seat? Awesome! It might be labelled A or F. Also, just so you know where things are, most planes have four restrooms – two near the front and two near the back.
Factors Affecting Arrival Times for Domestic Flights
It's good to arrive at the right time so you don't feel stressed. Here's what matters:
Why Arrive Early?
Big Airports vs. Small Airports: Big airports are like big cities – lots of people and walking! Small airports are usually faster. If you're flying from a big airport, give yourself more time.
Airline Rules: Each airline has its own rules about when to check in. Usually, it's at least one hour before the flight. Check your airline's website to be sure.
Security Check: Security can be fast or slow. You never know! Arriving early means you won't miss your flight, even if security takes a while.
Boarding Time: Boarding is when you get on the plane. It usually starts about 30 to 40 minutes before the flight. Don't be late! The gate closes about 15 minutes before the plane leaves.
Busy Times: Airports are busier in the mornings, evenings, weekends, and holidays. If you're flying at these times, arrive a little earlier.
How Early Should I Arrive?
Usually, For most flights in India, arriving 2 hours early is a good idea. This gives you time to check in, go through security, and find your gate without rushing. Sometimes, If you're flying very early in the morning, if it's a holiday, or if you booked your flight at the last minute, give yourself a little extra time – maybe 2.5 or 3 hours.
Arriving early isn't just about following the rules. It's about having a relaxed and happy start to your trip!
‘’ It's better to be early and relaxed than late and stressed.’’
How Early Should You Arrive for International Flights?
International Airport Travel Guide – Simple Steps and Tips for a Smooth Journey
Whether it's your first time at the airport or a seasoned traveller, following these steps will help you stay stress-free and prepared for your trip. International travel requires more time for check-in, security, and immigration. Airlines recommend arriving at the airport at least 3 hours before departure to avoid rushing through these procedures.
Airport Travel Guide: Easy Steps for a Smooth Trip
Going to the airport can feel overwhelming, but it doesn't have to be! These simple steps and tips will help you have a stress-free journey, whether a first-time flyer or a frequent traveller. Remember, international flights need extra time. Airlines suggest arriving at least 3 hours early.
Tips- Before Reaching Airport
Always Pack Smart, Make a list and pack only what you need. This helps avoid extra baggage fees and makes moving through the airport easier. Check your airline's baggage rules for size and weight limits.
The best option is to Check In Online: Most airlines let you check in online 24 hours before your flight. This saves time at the airport. You can often choose your seat too.
Step 1: Plan Your Trip to the Airport
Remember, international flights need extra time. Airlines suggest arriving at least 3 hours early. Rushing to the airport is stressful. Plan your trip carefully, considering how you'll get there and possible delays.
Check traffic conditions online or using a navigation app before you leave—factor in extra time for unexpected delays. Know where you'll park and if you need to reserve a parking spot.
Look up the schedule for buses, trains, or subways. Make sure there are no planned disruptions or delays. Allow extra time in case of unexpected issues, and if you're using a ride-sharing service, request your ride with plenty of time to spare, as availability can vary.
For domestic flights, aim to arrive at the airport 2 hours before your scheduled departure. For international flights, arrive 3 hours before. This gives you enough time for check-in, security, and finding your gate.
“Before You Travel, do as Much Online as Possible”
* Complete Paperwork: Doing paperwork at home saves time at the airport.
* Valid Passport: Check your passport's expiration date. Ensure it's valid for at least six months after your return trip. Some countries have stricter rules, so check the specific requirements for your destination.
* Visa (If Required): Some countries require a visa for work, study, or stays longer than a certain period (e.g., 90 or 180 days). Check the visa requirements for your destination well in advance, as processing times can vary.
* Customs Declaration Form (C5): Many countries allow you to complete your customs declaration form online. This can save you time waiting in line at the airport. Look for online portals provided by the destination country's customs agency.
* Return Travel Plans: Some countries require proof of a return or onward ticket. Have a copy of your flight confirmation readily available.
* Accommodation Details: Keep your hotel or resort booking confirmation handy, printed or on your phone. Immigration officials may ask for this.
* Vaccination Certificate (If Required): Some destinations require proof of specific vaccinations. Check the health requirements for your destination and ensure you have the necessary documentation.
* Declare Cash/Monetary Instruments: If you carry a large amount of cash or other monetary instruments (traveller's checks, etc.), you must declare it to customs.
Tip: Some airports have electronic immigration kiosks where you can scan your passport and get your C5 receipt after filling out the form online in advance. This can significantly speed up the immigration process.
Step 2: Check-In and Baggage Drop
Suppose your airline lets you do this online before you go to the airport. This can save you a lot of time. Sometimes, airlines require you to check in at the airport, especially for international flights. If you only have a carry-on bag, online check-in means you can skip the check-in counter and go straight to security. If you do have bags to check, you'll need to check in at the counter. Be prepared for a line, as airport check-in can take time because of baggage checks and ID checks. Most airlines require checked luggage to be processed at least 1 hour before departure for international flights.
Bonus tips-
- If you can manage with a carry-on bag, it will save you a lot of time and hassle.
- Every airline has rules about baggage size and weight, check-in times, and other things. Check your airline's website or call them to make sure you know what to expect.
Step 3: Security Check
Going through security is an important step, and lines can get long, especially during busy times like holidays. So, getting to the airport early is a big help.
When you get to the security checkpoint, here's what you need to do:
* Take off your metal stuff: This means things like belts, watches, and phones. Please put them in the trays they provide.
* Electronics out: Take out your laptops and tablets and put them in a separate tray.
* Liquids bag: If you have any liquids or gels (like toothpaste, shampoo, or even ghee), they need to be in small containers (3.4 ounces or 100 millilitres or less) and all fit in one clear, quart-sized plastic bag. Make sure they are sealed tightly so they don't leak.
* Coats and shoes: Avoid wearing big, heavy jackets or large boots, because you'll probably have to take them off. This takes extra time.
* Boarding pass ready: Keep your boarding pass in your hand because you'll need to show it to the security officer.
Tips for Faster Security:
If you're travelling during holidays like Thanksgiving, Christmas, or summer vacation, expect longer lines and get to the airport extra early.
TSA PreCheck or Clear: If you travel a lot, consider signing up for programs like TSA PreCheck or Clear. These programs let you go through a faster security line.
Step 4: Find Your Gate
After security, check the departure board for your gate number. Follow the signs to your gate. First, you'll want to find your gate. Check the airport monitors or your Boarding pass for the gate number.
Tip: Gate numbers may be assigned only 2 hours before departure, so keep checking the screens. Airports can be large, so give yourself extra time to walk to your gate.
Listen for Announcements: Once you're at the gate, listen carefully for any announcements. The gate agents will announce when Boarding starts and which groups will board first.
Step 5: Boarding
Your boarding pass will show your boarding group. This tells you when it's your turn to get on the plane. Often, families with young children, passengers flying first class, and people who need special assistance board first.
When your boarding group is called, have your boarding pass and other travel documents, like your passport, ready. Show them to the gate agent. They'll scan your boarding pass, and then you can head down the jet bridge and onto the plane. They'll point you in the right direction to find your seat.
Step 6: On the Plane
As soon as you find your seat, pay close attention to the safety demonstration the flight attendants gave. They'll show you what to do in an emergency, like where the exits are and how to use the oxygen mask. This is essential information, so it's worth listening carefully. Take a moment to locate the restrooms and other facilities on the plane. Knowing where things are will make your flight more comfortable.
Remember that you're sharing the plane with other passengers. Be courteous and respectful. For example, if you're reclining your seat, try to straighten it up during meal times so the person behind you has enough space to eat comfortably.
Don't hesitate to ask the flight attendants for help if you have questions or need anything. They're there to assist you.
Tips - Food and Drinks- Some airlines offer complimentary snacks and drinks, while others charge for them. If the food service is paid, it's a good idea to check if you can use a credit card or if you need to pay with cash. Sometimes, airlines prefer or only accept card payments for onboard purchases.
Step 7: Landing and Immigration
When travelling internationally, you might be given immigration forms to fill out on the plane. It's a good idea to fill these out before you land. Once the plane lands and you can get off, follow the signs that say "Arrivals" or "Immigration." These signs will lead you to where you need to go.
At the immigration checkpoint, you'll need to show your passport and any other required travel documents, like a visa (if you need one) and the customs form you filled out. Sometimes, airports have electronic kiosks that you can use to speed up the process. These kiosks often take your photo and print out a slip you give the immigration officer. Whether you use a kiosk or go through the regular line, the immigration officer will check your documents and stamp your passport. If you didn't get a chance to fill out a customs form on the plane, you might have to fill one out at the airport, so be prepared for that possibility.
Step 8: Customs
After you go through immigration, you'll usually go through customs. This is where they check your luggage to ensure you're not bringing in anything that's not allowed. Customs is where officials check what you're bringing into the country. They want to ensure you're not bringing in anything illegal or that needs to be declared (like large amounts of cash or certain goods).
When you arrive at the customs area, you'll see two different channels:
Green Channel: This is for people who have nothing to declare. You can go through the green channel if you're only carrying personal belongings and not bringing in anything that needs to be declared (like large sums of money, food, or certain items). This is usually the fastest way to go.
Red Channel: This is for people who do have items to declare. If you're bringing in goods, large amounts of cash, or anything else customs officials need to know about, you must go through the red channel. Be honest and declare everything, as failing can cause problems.
Note- If you go through the green channel, you'll usually walk through without further checks. If you go through the red channel, customs officers might ask you questions about what you're bringing in, and they might inspect your luggage.
Step 9: Final Step
Note- If you have another flight to catch, follow the signs to your connecting flight's gate. You'll essentially repeat the boarding process for your next flight.
If you've arrived at your final destination, congratulations! Now, you need to figure out how to get to your hotel or other destination.
Bonus Tip-
* Pre-booked Transportation: If you booked a taxi, car service, or shuttle in advance, look for the company's desk or a driver holding a sign with your name in the arrivals hall.
* Other Transportation Options: If you didn't pre-book, you can usually find taxis, buses, or other transportation options outside the arrivals area.
Many airports offer free Wi-Fi. You can use this to book a taxi, call a friend or family member to let them know you've arrived or check bus or train schedules.
“If you need help with directions, finding services in the airport, or anything else, don't hesitate to visit the airport information desk. The staff there can assist.’”
Tips for a Smoother Trip:
* Wear Comfortable Clothes: Airport travel involves much walking and sitting.
* Stay Hydrated: Bring an empty water bottle after security.
* Charge Your Devices: Ensure your phone and other devices are charged.
* Be Patient: Airports can be busy. Be patient with staff and other travellers.
* Ask for Help: If you're unsure about anything, don't hesitate to ask airport staff for help.
Factors Affecting Arrival Times for International Flights:-
Getting to the airport early for an international flight is super important for a stress-free trip. Here's why arriving early matters:
Immigration and Customs: Going to another country means going through immigration and customs, which can sometimes take a while. They need to check your passport and make sure everything is in order.
Security: Security checks for international flights can be a bit more thorough, so it's good to have plenty of time.
Extra Documents: Depending on where you're going, you'll need your passport and maybe a visa or other papers. It's always best to have time to double-check everything is in place.
Recommended Arrival Time :
Check-in: Airlines have deadlines for check-in. If you miss it, you might not be able to board your flight, even if you get there just a little later.
Unexpected Delays: There might be long lines at check-in or security, or your gate might change. Arriving early gives you time to handle any surprises. Plus, international airports can be significant and confusing, so it helps to have time to find your way around.
Peak Travel Times and Their Impact on Arrival Times
Travelling when everyone else is can make your airport trip much harder. Knowing when these busy times are and planning can make things much smoother and less stressful.
Busy Times of Year: Summer vacations, school breaks, and big holidays like Christmas and New Year's mean tons of people at the airport. This means long lines for everything – security, checking in, everything.
NOTE- Keep checking your flight on your phone. Flights get delayed and gates change more often when it's super busy.
Time of Day Matters Too:
Early Morning Flights: The airport is usually much calmer early in the morning. Lines are shorter, and it's easier to get there, whereas the airport gets packed later in the day, especially in the afternoon and early evening. Expect to wait a long time.
Check In Online - Most airlines let you check in online a whole day before your flight. This means you can skip the check-in lines at the airport and save precious time.
Mobile Boarding Pass:- Use your phone as your ticket. It's so easy, and you don't have to print anything. Just show your phone at security and when you board.
Know Your Way Around:
Airport Maps: Take a Look at the airport map before you go. Knowing where everything is makes it so much easier to get around, especially in big airports. Figure out where security, restrooms, restaurants, and lounges are ahead of time. No last-minute panicking.
Book Your Ride to the Airport Ahead of Time:
Booking your ride to the airport beforehand is a great idea. It means less stress, and you can be sure you'll get there on time, especially in busy cities. You can go with Lots of Choices, for instance, You can book a private car or shuttle. Start making it online . Rideshare apps are easy, too, but remember, prices can go up when it's busy. So, plan accordingly.
6. How to Choose the Best Airport Transfer Service for Timely Arrival
Choosing the correct airport transfer can make your trip super smooth and stress-free. Here's a simple guide to help you find the perfect fit:
A private car service is the best - Imagine booking a comfy car just for you, picking you up exactly when you want. They even monitor your flight, so they'll know if it's early or late.
Shuttle services are a more budget-friendly option- You'll share the ride with other travellers, which helps keep the cost down. It's a fantastic way to save money, especially if you're not in a super rush. They often have set pick-up times at hotels, making it extra convenient.
A limo or VIP transfer is the ultimate luxury- A limo or VIP transfer offers a luxurious experience with snacks, drinks, and someone to help with your bags. Plus, you might even get to skip some lines at the airport. It's the perfect way to start your trip in style and arrive feeling refreshed and ready to go.
7. What Happens If You Arrive Too Late?
Consequences of Late Arrival -
Okay, so sometimes, you might miss your flight if you're really late. And yeah, sometimes airlines charge a little fee to change your ticket if that happens. Here's the secret: Give yourself plenty of time to get to the airport. Like, maybe a little more than you need, especially if it's a busy travel day or the weather's unreliable. It's better to be early and relaxed, right?
Also, keep an eye on your flight. Airlines have apps and send updates, so you'll know if anything changes. And if you're not familiar with the airport, a quick look at the map online can be a lifesaver. Knowing where to go makes everything so much easier.
On the other hand, Think about booking your ride to the airport ahead of time. That way, you won't have to worry about finding a taxi or anything like that. It's just one less thing to think about.
8. Conclusion
So, travel can be a little stressful, but it doesn't have to be! The best way to make sure everything goes smoothly is to plan. And the easiest trick in the book? Arrive early!
For flights within your country, try to get to the airport at least two hours before your flight takes off. And if you're flying to another country, give yourself even more time – three hours is a good rule of thumb. This gives you plenty of time to check in, go through security, and maybe even grab a coffee before you board.
Another thing that can take the stress out of travel is pre-booking your ride to the airport. Think about it, no last-minute puzzling for a taxi or worrying about traffic. Services like Elife Transfer make it super easy to arrange a car or shuttle in advance to relax and enjoy the ride.
If you plan, book your airport transfer, and give yourself plenty of time, You'll be able to breeze through the airport feeling calm and confident. Happy travels!
FAQs -
1. Do I need 3 hours before an international flight?
Yes, international flights often have extra steps like customs, and lines can sometimes be lengthy. Those additional three hours give you a buffer so you don't feel rushed and can relax knowing you have plenty of time.
2. How early in the UK?
In the UK, two hours is usually perfect for flights within the country. But for international flights, the same rule applies – three hours.
3. Is one hour okay?
It's definitely not worth the risk. One hour is usually too tight, especially for international flights or during busy times. Airlines often have check-in deadlines; you don't want to miss those.
4. Is two hours enough for international travel?
Two hours might work sometimes, but it can be a little stressful. It's much safer and more relaxing to aim for three hours.
5. Two or three hours?
Let's keep it simple: Two hours for flights within the country and three hours for international flights.
6. What if I miss my flight?
If you miss your flight, the very first spot, don't panic. Just talk to the airline right away. They'll help you figure out what to do next. Sometimes, there's a small fee to change your ticket, but they'll do their best to get you on your way.
7. Can I check in online?
Absolutely! Checking in online is a fantastic way to save time. You can skip the check-in line at the airport. You'll still need to go through security, which will make your experience more efficient.
8. How do I know if I'm too late?
The best way to know is to check with your airline. Their app or website will have all the details about your flight and when you need to be there. But remember, it's always better to be a little early than to risk missing your flight.